Falcon Ranchero Detailing
By Bezor
AutoPuzzles feature writer Bezor's first article is an overview of the detailing job he performed on the family Falcon Ranchero. That's a ute, for our non-US members - Ed
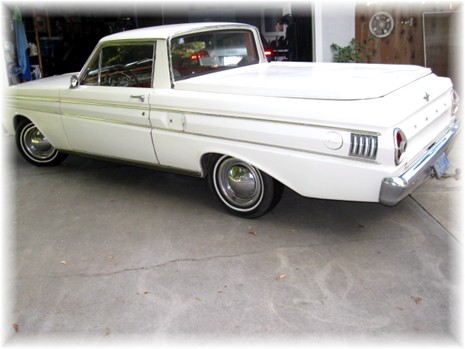
This Ford Falcon Ranchero has been in the family since new. It’s always been a light duty truck, having been repainted once, and on it’s third engine. Currently, it has a 291 cubic inch V-8 with single four-barrel carburetion. It has slightly larger cams, and intake and exhaust valves. The exhaust is straight through with “cherry bombs”. It fires straight away with a very mellow yet deep burble.
(Click the pics throughout this article for a larger view)
My purpose here is to show some detailing methods that I use on my
other cars, since this is white, single stage paint, some pointers won’t apply
to modern cars. I didn’t
detail the interior, and I only did a cursory clean up of the motor, which I do
not illustrate.
You can see we aren’t starting from complete dreck. Mostly surface dirt,
however, closer inspection of the pain revealed it needed more than a wash. The paint is badly oxidized, has some
stains and hard water spots.
First step is to get the surface dirt
off:
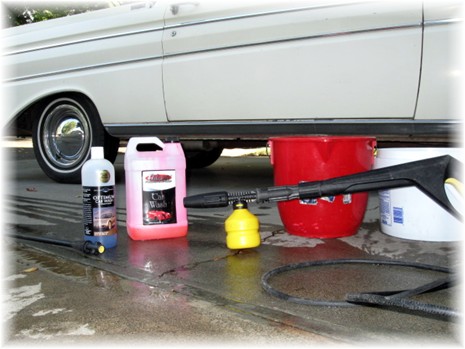
I use two methods to wash cars. First is the pressure washer with the
yellow tank filled with Adams Car Wash (the one gallon white container that the
pressure gun is pointing to) Adams
Car Wash is a relatively inexpensive cleaner that won’t strip wax, yet still has
enough cleaning action to get most dirt, and some lite staining off. The blue quart bottle is Optimum Car
Wash. Two capfuls of this will be
put into the white 5 gallon bucket, while the red bucket gets plain water. Having a wash bucket and a rinse bucket
is called the “the two bucket method”.
Nearly all swirls, staring, and holograms are introduced to the paint
because of poor wash technique, using the two bucket method substantially
reduces the chances of dirt being reintroduced to the paint.
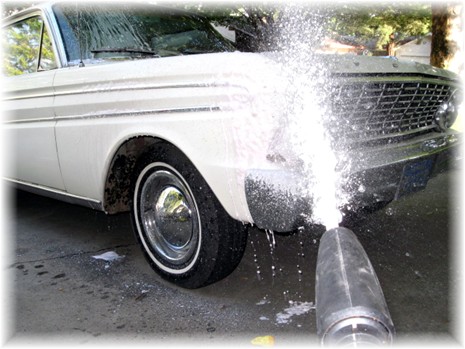
Pressured and firing away:
The Adams Car Wash is sprayed on.
Once the car is covered, let the soap dwell on the surface for about 5
minutes.
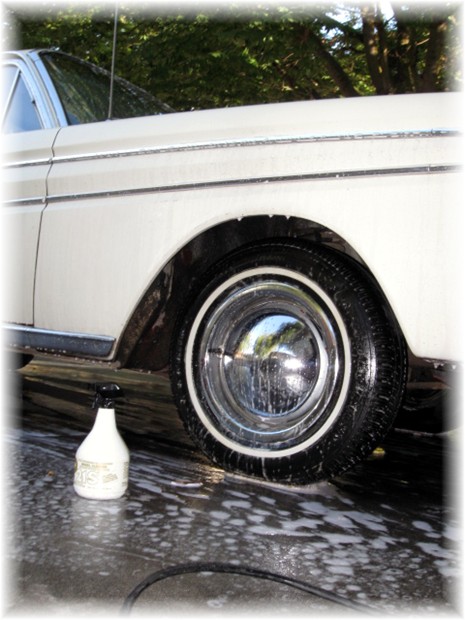
As the soap was left to work, I then started on the wheels using P21S Wheel Cleaner. Application of this product for this car was over the top price wise, as I could have achieved the same effect with 409.
Agitate over the chrome with a wheel brush, and let dwell for 5
min. It’s already been 5 min since
we sprayed on the car wash, so be careful of the weather, particularly dry heat
as you don’t want the car soap drying on the paint.
Hose the car off with an open nozzle on the
hose.
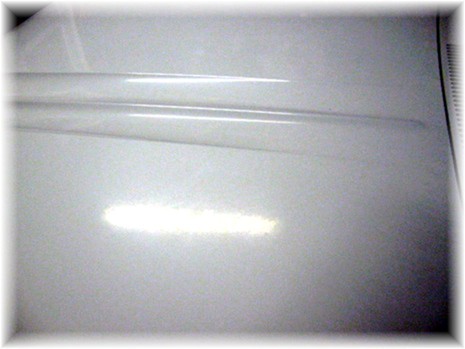
This shows the lack of depth due to oxidation and mineral depostis
from hard water. The car has plenty
of wax, yet the dead paint won’t allow for reflectivity. The picture illustrated two passes
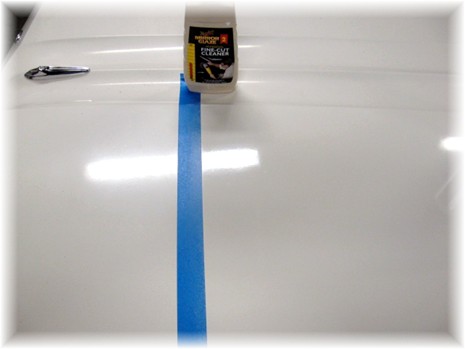
on the hood with a Porter Cable CCS Orange pad and Mequires Quick Cut (medium
cut)
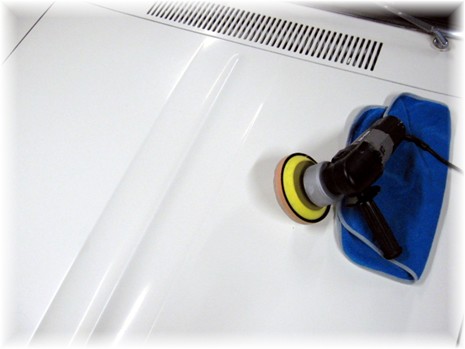
This picture shows the Porter Cable dual action buffer with a mildly stiff orange pad and a blue microfiber towel. Up to this point the pad was bogging down on the friction of the oxidation that was being removed. Using the porter cable in this condition can get a bit tricky, as the polisher may take a bite and shoot off in any particular direction. Working down through the oxidation takes time.
Using the blue masking tape illustrates the effects of the different levels of “cut” and what those levels produced. To the far left of the blue tape is the washed hood with no polishing. On the right is several passes of the Porter Cable with CCS Orange Pad and Mequires medium cut. This small 2x3 foot section finally started to allow the pad to move over the surface of the paint without slowing the polisher's motor from the thick oxidation.
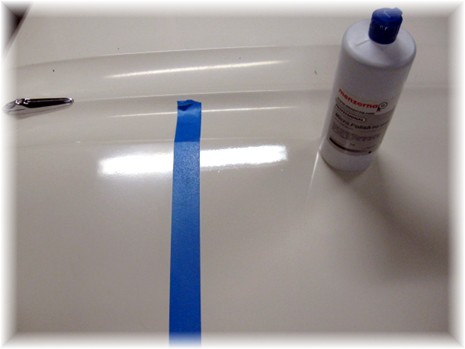
Moving from the Mequires and an orange pad, I switched to Menzerna
Intensive Polish with a new orange pad.
After a few passes with Intensive Polish, I went with Menzerna
PO85D also with a new orange CCS pad.
Comparing the left portion of the hood to the right the clarity,
and reflectivity of the paint is coming through. Friction on the pad is greatly reduced
and work time for each pass was getting short and shorter. Not shown here is the last step of
putting on a sealant. I chose
Menzerna Full-Metalic- Jacket (FMJ) which is a super slick polymer (as opposed
to carnauba wax).
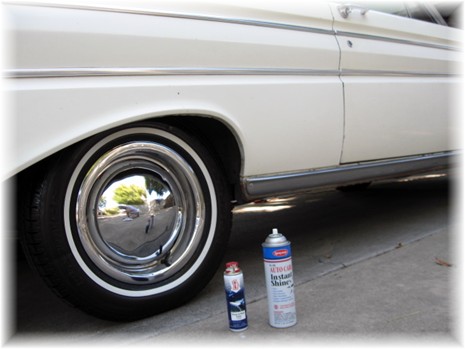
For this I used 1Z Metal Polish for the bumpers and rims. Finishing off the tires I use Spraway
Instant Shine. Instant shine is
rather like painting your tires from an aerosol can, the amount of reflectivity
in the shine can be toned down to more OEM like look with less application of
the product.
Comment on this article here...

